Wheels get rotated, bearings get cleaned and oiled, and boots get dried and aired. The frame, the part that actually holds everything together and takes every push you make, usually gets ignored until something rattles, clicks or feels crooked. That is a shame, because an aluminium speed frame is a precision part. A few minutes of inspection every week and a little care around the bolts and axles will keep a good frame such as the LiveLica Aerolite 4x110 running dead straight for seasons, and will stop the slow, silent problems (stripped threads, a rocking wheel, a frame that has crept out of position) that quietly steal speed without you noticing.
This guide is about the frame itself, not about mounting it for the first time and not about wheels or bearings. If you are still building your skates, read our guide on how to mount inline speed frames first. Here we cover what to look at, how often, what the warning signs are, and how to fix the small things before they become expensive ones.
Why the frame deserves its own routine
Every stride you take loads the frame in three directions at once. Your push drives sideways through the frame walls, your body weight presses down through the axles, and every corner twists the whole platform between the front and rear mounting points. A race frame is built to shrug this off. The Aerolite range is machined from 7075 T6 aircraft grade aluminium, an alloy chosen for its strength per gram, and a four wheel 4x110 comes in at 159 grams. Light and stiff is exactly what you want, but it also means there is very little spare material in the frame. Nothing is over built. So the threads, the bolt holes and the axle seats all deserve respect, because they are doing real work with no excess metal to fall back on.
The good news is that a frame does not wear the way a wheel does. It does not need replacing on a schedule. What it needs is checking, because almost every frame problem is caused by one of three things: a fastener that has loosened, a fastener that has been over tightened, or an impact that has shifted or bent something. All three are easy to catch early and hard to fix late.
The weekly frame inspection
Do this once a week if you skate regularly, or before every session if you race or train hard outdoors. It takes five minutes with the skates in your lap and the Allen key that came in the box.
Work through the frame in the same order each week: mounting bolts, then axles, then the frame walls, then the wheel arches.
Step one: mounting bolts
Put the Allen key on each mounting bolt and feel for movement. A correctly set bolt is snug and does not turn. If it turns a fraction before it firms up, it has loosened and needs re seating. Do not simply crank it tighter. Back it out a couple of turns, check the threads are clean, then bring it back down to snug in stages, alternating between front and rear so the frame seats flat against the sole. A bolt that keeps loosening week after week is telling you something: either the frame is not sitting flat on the boot, or the threads are worn, or the boot mounting plate has softened. Find the cause rather than chasing the symptom.
Step two: axles
Grip each wheel between thumb and finger and try to rock it side to side. There should be no play at all. Then spin it. It should run silently. A wheel that rocks usually means an axle that has backed off. A wheel that clicks once per turn often means a spacer that has shifted or an axle that is tight on one side and loose on the other. Tighten axles until the wheel just stops having side play and no further. Over tightening an axle loads the bearing sideways, which makes the wheel feel slow and can crack the bearing shield. If you feel drag after tightening, back the axle off a fraction.
Step three: frame walls
Run a fingertip along both side walls from front to back. You are feeling for dents, deep scratches, and any bright bare metal where the anodised or painted surface has worn through. Cosmetic scuffs from rail contact or a fall are normal on a race frame and do no harm. A dent that has pushed the wall inwards, or a crack line that catches your nail, is not cosmetic. Check that the walls are parallel by looking at the gap between the wheel and the wall on both sides. The gap should be equal on the left and right of every wheel.
Step four: wheel arches and clearance
Spin each wheel and watch the gap to the frame above it. On a frame built for 110mm wheels a new wheel sits close to the arch, and any grit, dried mud or a stray thread from a sock can rub there. Clean the arches out with a dry brush. If a wheel touches the frame at any point in its rotation, either the wheel is the wrong size for that position, the axle is not seated, or the frame has been bent. Stop and work out which before you skate.
Tightening: the mistake that ruins good frames
Almost every frame that arrives at a shop with stripped threads got that way because someone treated the Allen key as a strength test. Aluminium threads are softer than the steel bolt turning in them, and a race frame has just a few millimetres of thread to work with. Once those threads are pulled, the bolt will never hold reliably again and you are looking at a repair insert or a new frame.
Clean threads with the bolt brought down to snug hold far better than threads that have been pulled by force. Once aluminium threads are stripped they do not recover.
The right feel is snug plus a small nudge. Bring the bolt down by hand until it stops, then add a short firm turn and stop. If you cannot resist going further, remember that the mounting bolts are not what keeps the frame in place under a push. The flat contact between frame and sole does that. The bolts simply hold the two faces together. A frame that is seated flat needs surprisingly little bolt tension to stay put.
A tiny drop of medium strength thread locker on the mounting bolts is a sensible habit for racers who cannot afford a bolt backing out mid race. Use the removable kind, never the permanent kind, and keep it off the axle threads, where you want to be able to make quick changes.
Keeping the frame clean
Road grit, dust and dried sweat build up inside the frame walls and around the axle seats. Left there, grit works its way into bearings and abrades the anodised surface every time a wheel is removed. After a dirty outdoor session, pull the wheels, brush the inside of the frame out with a dry stiff brush, then wipe it with a cloth that is barely damp. Dry everything before the wheels go back in.
Avoid strong solvents and degreasers on the frame. They are not needed and they can attack the surface finish. Never use a wire brush, which scratches aluminium and creates the very surface damage you are trying to prevent. If you skate through the Indian monsoon or in coastal air, add a wipe down after every wet session, because damp grit is the fastest way to corrode the steel axles and bolts sitting in an aluminium frame.
Straightness: is your frame bent?
A hard fall, a kerb strike, or dropping a bag with the skates loose inside can bend a frame slightly. You will rarely see it by eye, but you will feel it as a skate that pulls to one side, a wheel that touches the arch at one point of its rotation, or bearings on one wheel wearing out far faster than the rest.
Hold the skate at eye level and look along the wheels from the heel. On a straight frame the wheels line up perfectly. On a bent frame one wheel, usually the front, sits off the line.
The simplest check needs no tools. Hold the skate upside down at eye level, look from the heel towards the toe, and sight along the four wheels. They should stack up into one line with equal gaps to the frame walls. Then lay the frame on a flat surface such as a glass table with the wheels removed. All four axle bosses should touch. If the frame rocks on the flat surface, it is twisted.
A bent aluminium frame should not be bent back. 7075 T6 is a heat treated alloy that gets its strength from that treatment, and bending it cold weakens the metal and can start a crack. A frame that has visibly bent has done its job by absorbing the impact and it is time to replace it. Check the LiveLica AI frames collection for the matching size, and keep the old frame's axles and spacers as spares if they are still straight.
Axles and spacers: small parts, big effects
Axles are the most abused part of the whole skate because they come out every time you rotate or swap wheels. Each time you remove them, glance at the threads. Steel threads that are silver and clean are fine. Threads that look rounded, shiny at the crests or fuzzy with burrs are worn and will start to slip in the frame. Replace worn axles before they strip the frame threads, which are far more expensive.
Spacers are the small sleeves that sit between the two bearings inside each wheel. Their job is to let you tighten the axle firmly without squeezing the bearings together. A missing or damaged spacer is the reason a freshly rotated wheel suddenly feels slow. When you rebuild a wheel, make sure the spacer is present, straight and seated between the bearings before the axle goes in. The Aerolite frames ship with an Allen key, spacers and axles in the box, so keep the spare set from a new frame and label it. A tiny sleeve protects a far more expensive bearing set.
Checking the boot side of the mount
The frame is only as solid as the surface it bolts to. Once a month, take the frame off completely and look at the boot sole. The mounting plate should be flat with no cracks around the bolt holes and no dark rings where the frame has been moving against it. If the frame has been fretting against the boot, you will see a polished ring around each bolt. Clean both faces, refit, and torque in stages. If the boot's mounting plate is soft or cracked, no amount of frame care will stop the frame loosening, and the boot needs attention first.
While the frame is off, this is also the moment to confirm your mounting is still where you set it. Frames creep. A frame that has slid a millimetre sideways over a season will change how the skate feels in a corner without you ever consciously deciding to change it. Compare against the marks or notes you made when you first set up.
When to replace a frame
A well cared for frame lasts years. Replace it if it fails the flat surface test, if a crack appears anywhere in the walls or around a mounting hole, if a mounting thread has stripped and cannot hold a bolt, or if an axle boss has ovalised so the axle can rock. Do not keep skating on a frame with a suspected crack. Aluminium does not warn you twice.
If you are due a replacement, consider whether the same layout still suits you. Our guide on which Aerolite frame is right for you walks through the 90x3, 4x90, 4x100, 4x110, 3x125 and Hi Lo options. All of them are 7075 T6 and all ship with hardware. The Aerolite 3x125 and Aerolite 4x100 are common choices for skaters moving to a new frame after years on an older setup.
A simple frame care calendar
- Before every hard session or race: rock every wheel, spin every wheel, touch every mounting bolt with the key.
- Weekly: full four point inspection, brush out the arches, look at the frame walls.
- After every wet or dusty session: wheels out, frame brushed and wiped, everything dried before reassembly.
- Monthly: frame off the boot, check the sole and mounting plate, refit and torque in stages, confirm the frame position.
- After any hard fall or impact: flat surface test and a sighting check before you skate again.
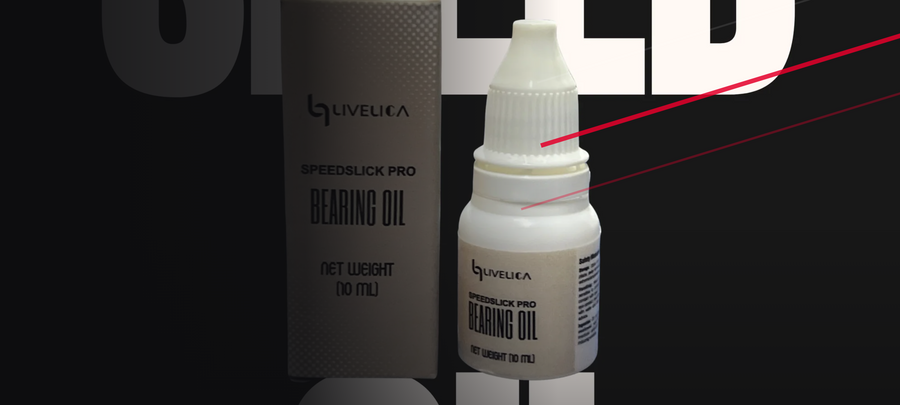
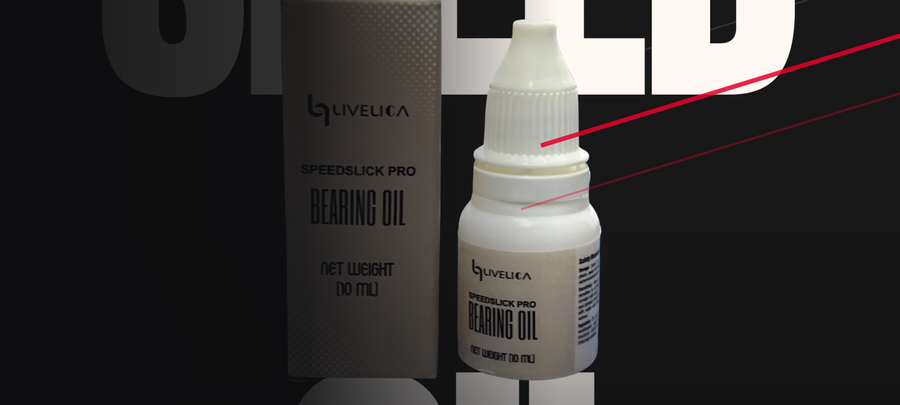
Pair this routine with a good bearing and wheel habit. Our guides on how to clean and oil skate bearings and how to rotate and care for inline speed wheels cover the parts that bolt into the frame, and a bottle of Speedslick Pro bearing oil is the one consumable most skaters keep next to their Allen key.
Frequently asked questions
How tight should the mounting bolts be?
Snug with a short firm turn, tightened in stages alternating front and rear. The flat contact between frame and boot holds the frame under load. The bolts only hold the faces together, so they need far less force than most skaters use.
Can I straighten a bent aluminium frame?
No. 7075 T6 aluminium is heat treated for strength, and cold bending it back weakens the alloy and risks a crack. A visibly bent frame should be replaced.
Why does my frame keep coming loose?
Usually because the frame is not sitting flat against the boot, the threads are worn, or the boot mounting plate has softened. Remove the frame, clean both faces, check the threads and the plate, then refit and torque in stages. A drop of removable thread locker helps for racing.
Do I need to remove the frame to clean it?
Not weekly. Pulling the wheels and brushing the arches is enough most of the time. Take the frame fully off once a month to inspect the boot side of the mount.
How do I know if the frame is causing a slow wheel?
Swap that wheel to another position. If the slowness follows the wheel, it is the bearings or spacer. If it stays at the same position on the frame, check the axle threads and look for a bent boss or a wheel touching the arch.
Look after the frame and it will look after everything bolted to it. Five minutes a week with the Allen key that came in the box is all it takes to keep a race frame straight, tight and quiet for years.