Skaters spend hours arguing about wheels and bearings, and almost no time thinking about the one component that touches them directly. Your boot decides how much of your push actually reaches the ground, whether you can hold a low position for a full race, and whether the last five kilometres of a marathon are a fight with your own feet. A perfect frame bolted to a badly fitting boot is a slow skate. A modest frame under a boot that fits like a second skin is a fast one.
This guide is about how to choose, size and fit an inline speed skating boot, and how to be certain that the frame you want will actually bolt to it. We do not stock inline boots at LiveLica, so there is nothing being sold to you in the fitting sections. What we do build is the frame that mounts underneath, which is exactly why the mounting part of this guide is written in detail rather than waved through.
Why the boot matters more than anything else you buy
An inline speed boot has one job that no other part of the skate can do. It has to transmit force from your foot into the frame with as little loss as possible, while still allowing your ankle enough freedom to set the skate down at an angle and roll through the push. Those two requirements pull against each other. Too soft and your energy disappears into flex. Too rigid or badly shaped and you cannot articulate your ankle, which flattens your stride and hurts within twenty minutes.
That balance is why speed boots look so different from recreational skates. They are low cut, close fitting, usually built around a carbon or composite shell, and they are meant to be worn without thick socks. If you are coming from a soft recreational boot, the first thing you will notice is how much more directly the skate responds. The second thing you will notice is that a speed boot is completely unforgiving of a wrong size.
The anatomy of an inline speed boot
A speed boot is built low and close so the ankle can work, with a rigid heel counter behind it and a drilled sole underneath that carries the frame.
The shell
Most competitive boots use carbon or a carbon and fibreglass composite. Stiffness is what turns your push into forward motion instead of flex, but total rigidity everywhere is not the goal. Good boots are stiff under the arch and around the heel, and more forgiving where the foot needs to bend at the ball. If a boot feels like a plaster cast in every direction, it will fight your stride.
Cuff height
Speed boots are cut low at the ankle on purpose. A low cuff lets you push at a deep angle and rotate the ankle through the stroke. A higher cuff gives more lateral support and feels safer to newer skaters, at the cost of range. Beginners often benefit from a slightly higher cut while their ankles build strength, and then drop lower as their technique improves.
The heel counter
This is the part most people ignore and then regret. The heel must be locked. If your heel lifts even a few millimetres during a hard push, you lose power, your toes jam forward into the toe box and you develop the blisters that make every session miserable. A boot that grips your heel firmly while leaving your toes free is the target.
Closure
Laces, a buckle, a strap, or a combination. What matters is not the mechanism but whether you can apply pressure where you need it and leave it off where you do not. Many skaters lace firmly across the instep to hold the heel down and keep the very top loose so the ankle stays free.
Getting the size right
Sizing is where most inline speed skating misery begins. A speed boot is not a running shoe and should not be bought with the same logic.
Measure, do not guess
Stand on a sheet of paper against a wall with your heel touching the wall, mark the tip of your longest toe, and measure the distance in millimetres. Do this in the evening when your feet are at their largest, and measure both feet, because most people have one foot slightly longer than the other. Size to the larger foot. Then compare that measurement to the manufacturer's own foot length chart rather than to your usual shoe size, because street sizing varies wildly between brands and tells you almost nothing.
The toe test in a low position
A speed boot should be snug enough that your toes just brush the front when you stand upright, and then pull back slightly when you bend into a skating position. That is the correct feeling and it surprises people the first time. If your toes are crushed in the low position, the boot is too short. If your foot slides forward and your heel lifts, the boot is too long or too high in volume.
Check the fit in both positions. A boot that feels fine standing still can be completely wrong once you drop into a skating stance.
Width and volume
Length is only half the story. Two feet of identical length can need very different boots because of width across the ball and volume over the instep. A boot that is the right length but too narrow will bruise the sides of your forefoot. A boot that is too high in volume will let your foot float no matter how hard you tighten it, and tightening harder only creates new pressure points. If you have a wide forefoot or a very high instep, say so before you buy, because that constraint should drive the choice more than any performance claim.
Heat moulding
Most carbon speed boots are heat mouldable, which lets the shell take the shape of your foot around bony areas such as the ankle bones and the base of the big toe. Moulding is a fix for shape, not for size. It cannot rescue a boot that is a size too small, and it cannot fill a boot that is a size too big. Get the length right first, then use moulding to solve the last few pressure points. If you are new to it, have it done by someone who has moulded boots before, because too much heat is a permanent mistake.
Will your frame actually fit? Mounting standards explained
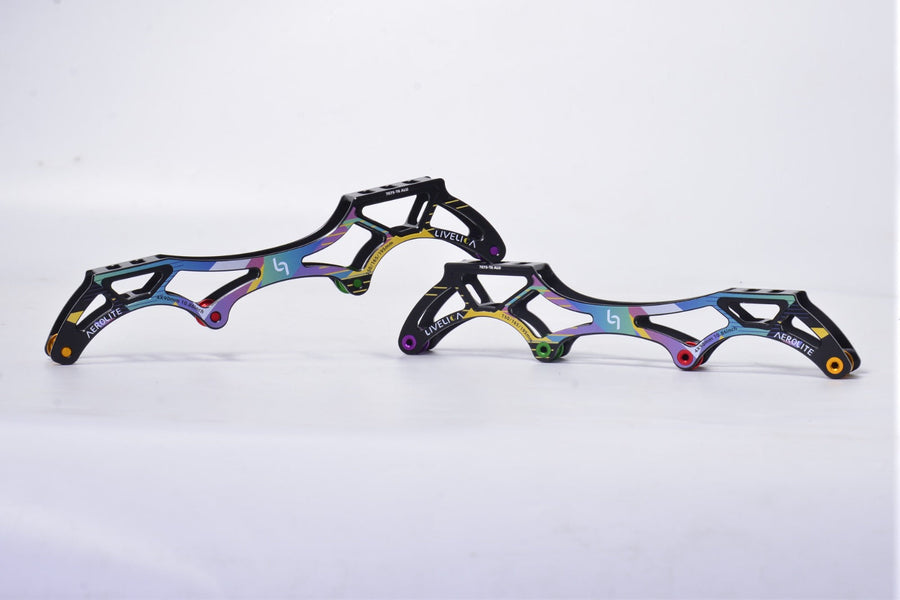
This is the question that catches skaters out most often, and it is completely avoidable. Speed boots are drilled underneath for a frame, and there are two common bolt spacings in use. A 165mm mounting has two bolts spaced 165mm apart. A 195mm mounting spaces them 195mm apart and is generally found on larger boots and longer frames.
Before you buy either a boot or a frame, find out which standard the boot uses. The simplest way to avoid the problem entirely is to run a frame that is drilled for both. Every frame in the LiveLica Aerolite range is dual drilled for 165mm and 195mm mounting, which means it bolts to either standard and stays with you if you change boots later. That flexibility is worth more than it sounds, because boots wear out faster than frames do.
Check the bolt spacing under your boot before you order anything. A dual drilled frame removes the guesswork because it accepts either standard.
Matching the boot to the rest of the setup
Once the boot fits and the mounting is sorted, the frame decides what kind of skater you get to be. A short, low platform such as the Aerolite 4x90 sits at 10.86 inches and weighs 124 grams, keeping you close to the ground with four points of grip, which suits track and technical skating. A long platform such as the Aerolite 4x110 runs 13.2 inches and 159 grams and tracks dead straight at road and marathon pace. Both are machined from 7075 T6 aircraft grade aluminium and both ship with an Allen key, spacers and axles.
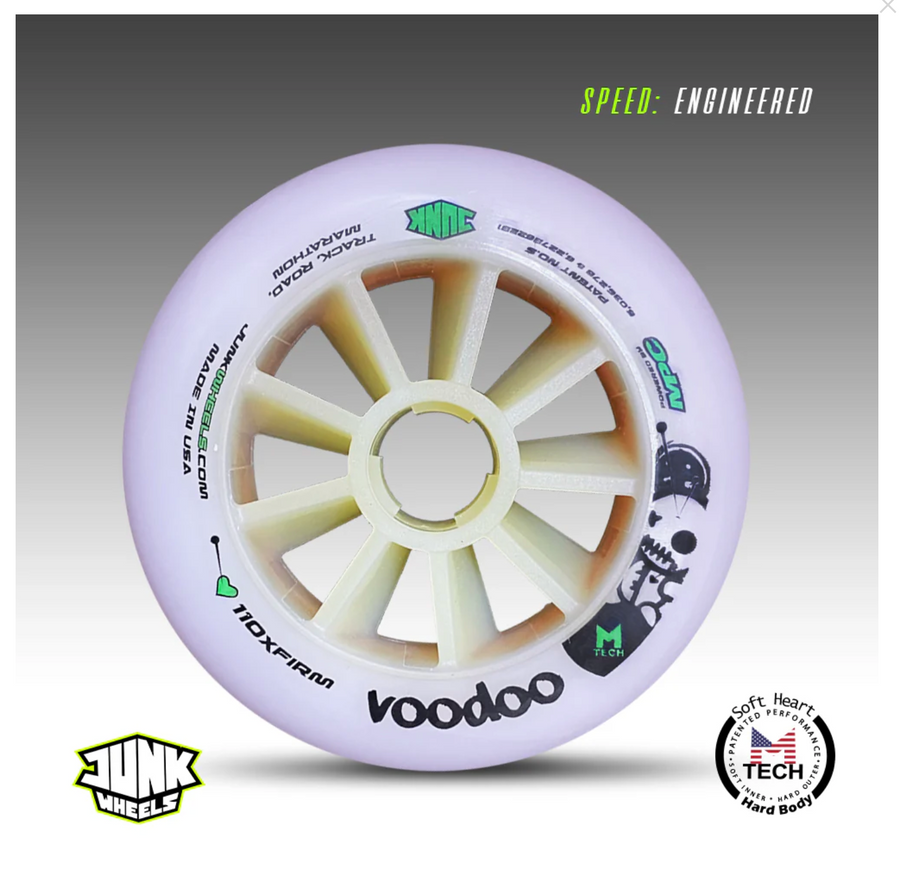
From there the rest follows. Wheels set your grip and rollout, and you can compare the options in the JUNK wheels collection. Bearings sit two per wheel in the standard 608 size, and the Power Bearings range covers everything from a solid steel training bearing to a full ceramic race option. None of that helps, though, if the boot underneath is wrong. Fit first, then frame, then wheels and bearings.
Mistakes that cost skaters a season
- Buying a size up to leave room for growth. Speed boots do not work with space in them, and the heel lift alone will ruin your push.
- Sizing from a street shoe number instead of a measured foot length in millimetres.
- Wearing thick socks. Speed boots are designed for very thin socks or none at all, and a thick sock changes the fit completely.
- Tightening the top of the boot to fix heel lift. That restricts the ankle without solving the problem, which is usually volume or length.
- Ordering a frame before confirming the boot mounting, and discovering the bolt spacing does not match.
- Heat moulding to fix a size problem. Moulding changes shape, never length.
Breaking in a new boot
A stiff carbon boot needs a settling period, and rushing it is how people end up with blisters that keep them off skates for a fortnight. Wear the boots indoors for short spells first so the liner starts to take your shape. Build up gradually with easy sessions rather than a long ride on day one. Expect mild pressure that fades over a few outings, but treat sharp local pain, numbness or a hot spot that returns in the same place every time as a fit problem rather than something to push through. That is what heat moulding is for.
Frequently asked questions
Can I use recreational or fitness skates for speed training?
You can start there, and plenty of skaters do. You will be limited by the soft support and the high cuff long before you are limited by the wheels. Once you are training seriously and holding a low position, a proper speed boot changes more about your skating than any other upgrade.
How do I know whether my boot is 165mm or 195mm?
Measure the distance between the centres of the two mounting bolts underneath the boot. If it measures close to 165mm or close to 195mm you have your answer. If you are between standards or unsure, message us with a photo of the sole before ordering a frame.
Should the boot feel tight when I first put it on?
Snug, yes. Painful, no. Your heel should feel locked in place and your toes should just touch the front when you stand tall. If any part of the boot creates a sharp point of pressure rather than an even hug, that is a shape problem to solve with moulding or a different last.
How long does a speed boot last?
It depends on how much you skate and how you store it, but the shell usually outlives the liner by a long way. Dry the liner after every session, never leave a damp boot sealed in a bag, and replace the liner rather than the whole boot when the padding packs down.
Do I need a different boot for indoor and outdoor?
No. The boot stays the same, and you adapt with frames and wheels. That is another reason a dual drilled frame is a sensible purchase, because you can move between setups without touching what is on your feet.
The short version
Measure your foot in millimetres, size to the larger one, and check the fit both standing tall and bent low. Demand a locked heel and free toes. Treat heat moulding as a shape tool rather than a size rescue. Confirm your mounting standard before you buy a frame, or run a dual drilled frame so the question never comes up. Get those things right and every other upgrade you make afterwards will actually be felt, because there will be nothing between your push and the road except good equipment.