New boots are a strange kind of exciting. You have saved up, you have chosen carefully, and the box finally arrives. Then you skate your first session and your feet feel like they belong to someone else. This is normal. A stiff carbon short track boot is not a trainer you can slip on and run in. It is a precision tool that has to learn the shape of your foot, and your foot has to learn to trust the boot. That mutual settling in is what skaters call breaking in, and doing it patiently is the difference between boots that feel like part of your leg and boots you dread lacing up.
This guide walks through breaking in a pair of EHS Short Track Boots from the very first session to the point where you forget they are even there. If you have just heat moulded a new pair, this is what comes next.
Why stiff short track boots need breaking in at all
Short track boots are built stiff on purpose. That stiffness is what transfers the power from your leg straight into the blade, holds your ankle firm on a deep lean, and stops energy leaking away as your boot flexes under load. A soft boot feels comfortable in the shop and then robs you of control on the ice.
The trade off is that a stiff carbon shell has almost no give on day one. It has to settle around your heel, your instep and your ankle bones before it feels natural. At the same time, the footbed compresses slightly, the padding takes the impression of your foot, and your own body adapts to a much more locked in position than any normal shoe. Breaking in is all of these things happening together over several sessions.
The break in journey is gradual. Rushing straight to race pace on day one is how blisters and sour first impressions happen.
Start with a proper heat mould
Breaking in begins before you ever touch the ice, with a good heat mould. The carbon shell of the EHS boot is designed to be warmed and shaped to your foot, which removes a huge amount of the settling in that a non mouldable boot would force you to grind through on the ice. If you have not moulded yet, follow a careful moulding routine first, because everything below assumes the shell already roughly matches your foot. Our full walk through of measuring, fitting and heat moulding lives in a separate guide, and it is worth reading before your first session.
A good mould does not remove the break in period entirely. It shortens it and makes it far more comfortable. Think of moulding as a large head start and the on ice sessions as the fine tuning.
Session one: keep it short and humble
Your first session in new boots is not a training session. Treat it as a fitting that happens to be on ice. Lace the boots firmly but not brutally, do a gentle warm up, skate easy laps, and get off after about twenty minutes or as soon as anything starts to feel hot. You are gathering information, not chasing lap times.
Pay attention to where the pressure sits. A little all over firmness is fine and expected. A sharp point of pressure in one spot is the thing to note, because that is a hot spot, and hot spots are what you manage over the next few sessions.
Reading hot spots
Almost every skater feels pressure in a few predictable places when a boot is new. The classic zones are the outer ankle bone, the top of the instep where the laces cross, the navicular bump on the inside of the foot, and the back of the heel. Knowing where a hot spot is tells you how to fix it.
Mark where the pressure sits in your own boots. The location tells you whether the fix is lacing, a sock change or a spot remould.
If the pain is a broad, dull pressure rather than a point, it usually eases on its own as the padding compresses over a session or two. If it is a sharp point over a bony area such as the ankle bone or the navicular, that is a candidate for a targeted spot remould, where you warm just that zone and gently ease the shell out over the bump.
The role of lacing during break in
Lacing is your most powerful comfort tool while the boot is settling. Do not lace a brand new boot as tight as you eventually will. Start firm through the foot and lighter over the ankle for the first couple of sessions, then progressively lock the ankle down as your foot adapts and the shell relaxes.
The heel lock is the part most skaters get wrong early. If your heel lifts inside the boot, you will get friction at the back and you will never feel truly connected to the blade. Concentrate on seating your heel fully back into the pocket before you tighten, then lace so the heel stays put. A locked heel makes the whole boot feel a size smaller in the best possible way.
A locked heel stops the rubbing that causes blisters and gives you a direct feel for the blade underfoot.
Socks, skin and blister prevention
What you wear inside the boot matters just as much during break in. A thin, smooth, snug sock reduces friction and stops fabric bunching into a pressure point. Thick cotton socks are the enemy, because they hold moisture and wrinkle. Many short track skaters pair their boots with a proper protective layer such as the LiveLica Level 4 cut resistant ankle socks, which sit snug and smooth while also adding protection at the ankle.
If you feel a hot spot beginning, stop before it becomes a blister. A blister sets your break in back by days, because you then have to skate around a wound. Prevention is faster than healing. Tape a known trouble spot before it flares, keep your feet dry, and never push through sharp pain in the hope that it will simply go away.
Building up over the following sessions
By your second and third sessions you can skate longer, but keep the intensity easy. This is the phase where you note which hot spots faded on their own and which need a spot remould. Address the stubborn ones before you start loading the boot hard.
From sessions four to six, skate full length sessions and tighten your lacing toward your normal race tension. The shell will feel noticeably more settled by now. From roughly session seven onward you should be able to skate at race pace without thinking about your feet, which is the whole goal. The exact numbers vary from skater to skater, so judge by feel and not by a fixed count.
How your blade feel changes as boots settle
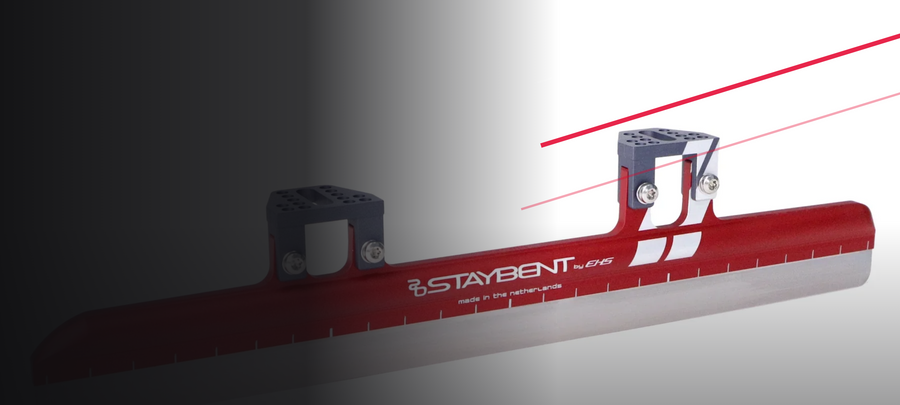
Here is something skaters often miss. As your boots break in, your foot sits fractionally differently and your ankle holds a slightly different angle. That changes how your blade meets the ice. A setup that felt perfect in old boots can feel subtly off in new ones for the first week or two, then settle. Do not rush to change your blade alignment during the first few sessions in new boots. Let the boots settle first, then assess your blade feel. If you are also adapting to a new blade such as the StayBent JaeBee, change one thing at a time so you can tell what is doing what.
When a boot will not break in
Breaking in fixes fit that is nearly right. It does not fix a boot that is the wrong size. If after several careful sessions and a spot remould or two you still have sharp, persistent pain in the same place, or numbness, or a heel that simply will not lock, the honest answer may be that the size or the mould is off rather than that you have not broken them in enough. Pain that gets worse rather than better over sessions is a warning sign, not a rite of passage.
Frequently asked questions
How long does it take to break in short track boots?
For most skaters, a well moulded pair feels good within about six to ten sessions, with the worst of the settling done in the first three. The timeline depends on how often you skate and how well the initial mould matched your foot.
Should new boots hurt?
Firm, all over pressure is normal. Sharp, pointed pain in one spot is not something to push through. Broad pressure eases as the boot settles. A sharp point usually needs a lacing change, a sock change or a targeted spot remould.
Can I speed up the break in?
A careful heat mould is the single biggest accelerator, because it removes most of the settling before you skate. Beyond that, patience beats force. Short early sessions and progressive lacing get you there faster than long, painful ones.
Do I need to remould after breaking in?
Sometimes a light second mould after a few sessions helps, once you know exactly where the boot presses. Warm just the problem zone rather than remoulding the whole shell unnecessarily.
What socks are best while breaking in?
Thin, smooth and snug. Avoid thick cotton. A protective ankle sock that fits close, such as a cut resistant ankle sock, keeps friction down and adds safety at the same time.
The short version
Mould the boot well, start with short sessions, read your hot spots by location, lace progressively with a locked heel, wear a thin snug sock, and prevent blisters rather than skate through them. Build up over about a week of sessions and let your blade feel settle before you touch your alignment. Do that and a stiff pair of boots turns from an ordeal into the most connected, powerful part of your kit. If you are still choosing your boots, browse the EHS Short Track Boots collection or build a complete kit from the Short Track Setup collection, and get in touch if you want a hand with sizing. We skate too, and we would rather help you get it right the first time.