Every skater has been told to get lower, push to the side and stop bobbing. Almost nobody can feel whether they are actually doing it. The gap between what your body thinks it is doing and what it is really doing is the single biggest brake on technique, and the cheapest way to close it is to learn how to analyse your own skating technique on video. A phone, a wall to lean it against and ten minutes of honest looking will tell you more than a season of guessing. This guide covers where to put the camera, what to film, exactly what to look for frame by frame, how to tell a technique fault from an equipment fault, and how to turn what you see into something you can actually change next session.
You do not need a coach standing next to you for this to work, although a coach who can see your clips will work faster. You do not need an expensive camera either. What you need is a repeatable setup, a short checklist and the discipline to film the same thing again a month later so you can compare.
Why video beats feel every single time
Skating is a fast, asymmetric, low to the ground sport, and your sense of your own body is calibrated to standing upright. When a skater is told to get low, they typically bend at the waist rather than at the knee and ankle, and it feels dramatically lower than it looks. When a skater is told to push sideways, they usually push at maybe half the angle they imagine. Neither error is stubbornness. The internal picture is simply wrong, and video is the correction.
There is a second reason, and it matters more as you improve. Technique faults hide inside fatigue. Your form at minute two is not your form at minute forty, and you cannot feel the drift because it happens gradually. Filming a late interval as well as a fresh one shows you what actually falls apart under load, which is the thing worth training.
Where to put the camera
Four angles tell you almost everything, and each answers different questions. You do not need all four in one session. Pick one angle per session and do it properly.
Side on shows your stance and bob. Head on and from behind show push direction and ankle lean. Three quarter is the best single angle if you can only film once.
Film side on for posture, knee bend and whether your head and hips travel up and down. Stand still, hold the phone at roughly knee to hip height, and let the skater come past you rather than panning wildly. Film head on to see how far the skate travels sideways and whether your shoulders stay level. Film from behind to watch the recovery leg and to catch a skate that lands underneath you instead of out to the side. Film three quarter, which is roughly forty five degrees ahead and to one side, when you want one clip that shows both push direction and body position at once.
A few practical notes. Shoot in landscape. Use a slow motion setting if your phone has one, because the moments that matter last a fraction of a second. Film at least six or eight complete strides in a single pass so you can see a pattern rather than one lucky stride. And film both directions on a corner, because almost every skater has a good side and a bad side and only the video will tell you which is which.
What to look for side on
Play the clip at quarter speed and pause at the moment the pushing leg is fully extended. Then work up the body. Doing it in the same order each time stops you fixating on the one thing you already know about.
Work up the body in the same order every time. The horizontal line is the test that catches bobbing faster than anything else.
- Shin angle. Your shin should lean forward over the foot. If the shin is vertical you are sitting back, and every push will be weaker than it should be no matter how strong your legs are.
- Hip height. Draw a mental horizontal line at your hip and watch whether the hip rides up and down across strides. Movement here is the bob that costs you speed and looks so obvious on film and so invisible from inside.
- Back angle. Flat and roughly parallel to the ground is the target. A rounded upper back usually means you are bending from the waist rather than the knee.
- Head position. Eyes forward down the track. Looking at your feet drops the chest, shortens the stride and is one of the easiest faults to fix once you have seen it.
- Full extension. Watch whether the pushing leg actually finishes, or whether you pull it back early. Unfinished pushes are extremely common in tired skaters.
What to look for head on and from behind
The side view cannot show you push direction, and push direction is where most of the free speed is. Filmed head on, watch how far each skate travels away from the centre line of your body before it leaves the ground. A skate that goes almost straight back has wasted most of its push, because only the sideways component drives you forward. Our guide to the low basic position covers why this happens and what it should feel like.
Filmed from the front or behind, the distance your skate travels away from the body line is a direct measure of how much of your push is doing anything.
From behind, watch two more things. First, where the recovery skate lands. It should come back underneath you cleanly rather than swinging wide and slapping down. Second, ankle lean. If your ankles collapse inward under load, your push leaks out sideways before it reaches the wheels, and no amount of leg strength fixes it.
Telling a technique fault from an equipment fault
This is where video earns its keep, because some faults that look like bad skating are actually a setup problem, and you can chase them forever in drills without improving. Three patterns are worth knowing.
- You are consistently on the inside edge of the wheel and your ankle rolls in on every stride. Before you blame your ankles, check frame position. A frame mounted slightly off for your foot makes a good skater look wobbly, and our guide to mounting frames and setting frame position explains the adjustment.
- Your glide looks fine but the skate visibly wanders or judders on a straight roll. Very often that is coned or unevenly worn wheels rather than anything your legs are doing.
- One skate visibly slows while the other keeps rolling on a long glide, so you look like you are correcting constantly. That is a bearing dragging, not a balance fault, and it is worth checking the bearings in the Power Bearings range against how they should feel when they are clean and free.
- You look strong on one side and awkward on the other in a corner. Film both directions before deciding it is technique, because an unbalanced wheel rotation or a frame set differently on each boot will show up exactly like a technique asymmetry.
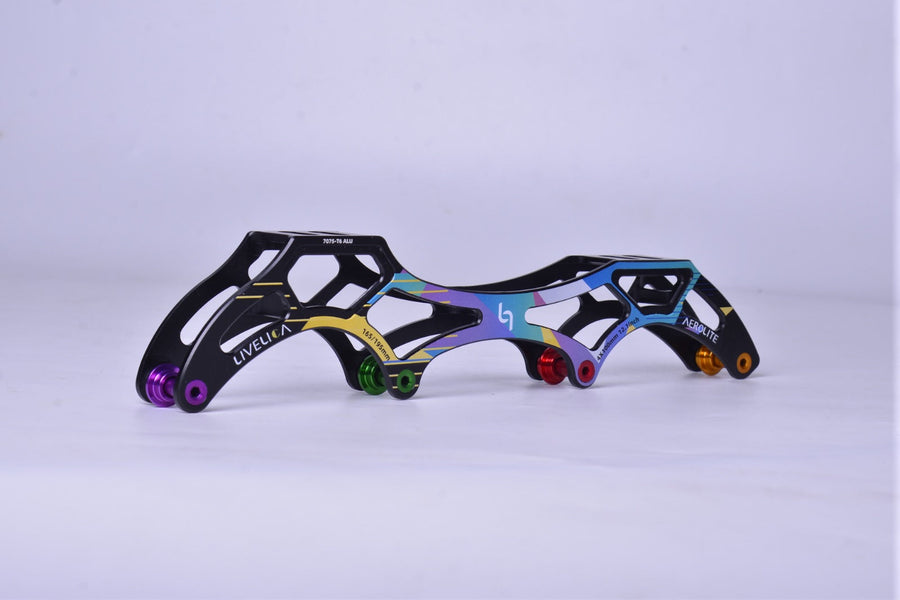
Frame length and wheel size also change what good technique even looks like on film. A skater on a 3x125 setup will show a longer, lower stride than the same skater on a 4x90, and comparing clips across two different frames tells you very little. If you are weighing up a change, the LiveLica Aerolite frame range lists the options, and the JUNK wheels collection covers the wheel side.
Build a filming routine you will actually keep
The value compounds only if you film the same thing repeatedly, so make it small enough to survive a busy season.
- Once a fortnight, film one pass side on and one pass three quarter, fresh, in the same place with the same camera height.
- Once a month, film one pass at the end of a hard session so you can see what fatigue does to your position.
- Keep the clips in one folder, labelled by date. Nothing clever is needed, just a consistent name.
- Pick exactly one fault to work on at a time. Skaters who try to fix four things fix none of them.
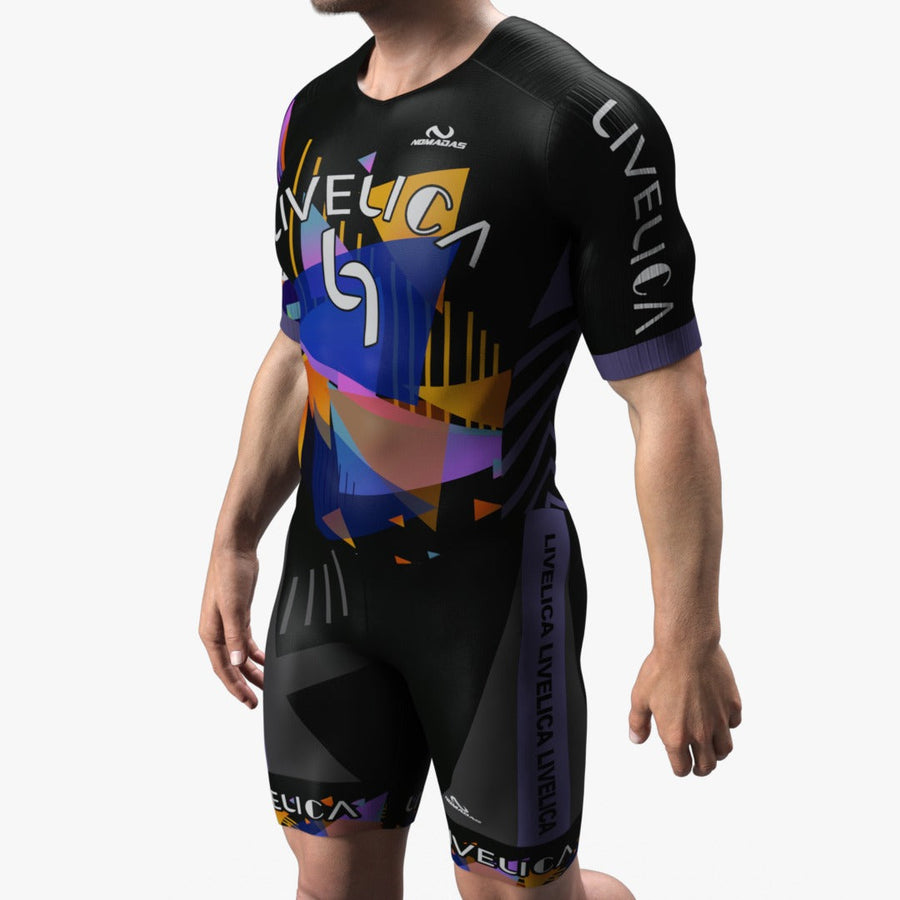
- Before filming, check the obvious variables so your clips are comparable. Skate in what you usually skate in, and remember that a loose fitting top hides your back angle completely, which is one practical argument for filming in something close fitting like the LiveLica Pro Skin Suit.
Then compare. Put the clip from today next to the clip from six weeks ago and play them side by side. Real technique change is slow enough that you will never notice it week to week and obvious the moment you look across a month. That comparison is the most motivating thing in this entire process, and it is the reason to keep the old clips rather than deleting them.
Turning what you saw into next session
A fault you have identified is worth nothing until it becomes a drill. Translate directly. If your hips bob, do low stance holds and one leg glides where the only goal is keeping the hip line flat. If your push goes backwards, skate slowly on a wide track and exaggerate the sideways travel until it feels absurd, because absurd on the inside is usually about right on film. If your recovery skate swings wide, slow everything down until it lands clean and only then add speed. The drills in our inline speed skating training plan map onto these faults closely.
Then film again in two weeks and check. That loop, see it, drill it, film it again, is what separates skaters who improve steadily from skaters who plateau for years while training hard.
Frequently asked questions
What camera settings should I use to film my skating?
Landscape orientation, the highest frame rate your phone offers, and slow motion if it is available. Fast movement at a low frame rate blurs exactly the moments you want to study, particularly the instant of full extension.
Which single camera angle is best if I can only film one?
Three quarter, roughly forty five degrees ahead and to the side. It shows body position and push direction together, which makes it the most informative single clip.
How often should I film myself skating?
Once a fortnight is plenty for technique work, with an occasional clip at the end of a hard session to see what fatigue changes. More often than that and you will not see any difference between clips.
Can video replace a coach?
No, but it makes a coach far more useful, because you can send a clip and get specific feedback rather than describing a feeling. If you have no coach at all, video plus a clear checklist is much better than training blind.
Why does my skating look so much worse on film than it feels?
Because your internal sense of your body is calibrated for standing upright, not for a deep, asymmetric skating position. Almost every skater feels lower and more sideways than they actually are. That gap is normal and it is exactly what you are filming to close.
Start this week
You do not need to plan a project. Take your phone to your next session, prop it against a bag at knee height, skate six strides past it side on, and watch the clip at quarter speed with the checklist in this article open next to you. Most skaters find two obvious faults in the first ten minutes, and one of them is usually something they had been told about for months without ever quite believing. That is the moment video analysis starts paying for itself, and it costs nothing but the attention.